How to install IIS on Windows Server 2008
Prerequisites
Administrator access
Installing IIS on Windows Server 2008 R2
Open the Server Manager by clicking on the Server Manager icon located at the bottom left of your task bar. If you are unable to locate the icon, click on the Windows start button, click Control Panel. In Control Panel, click System and Security, and then Administrative Tools and lastly click on Server Manager.
In the Server Manager, click on Roles and then Add Roles.
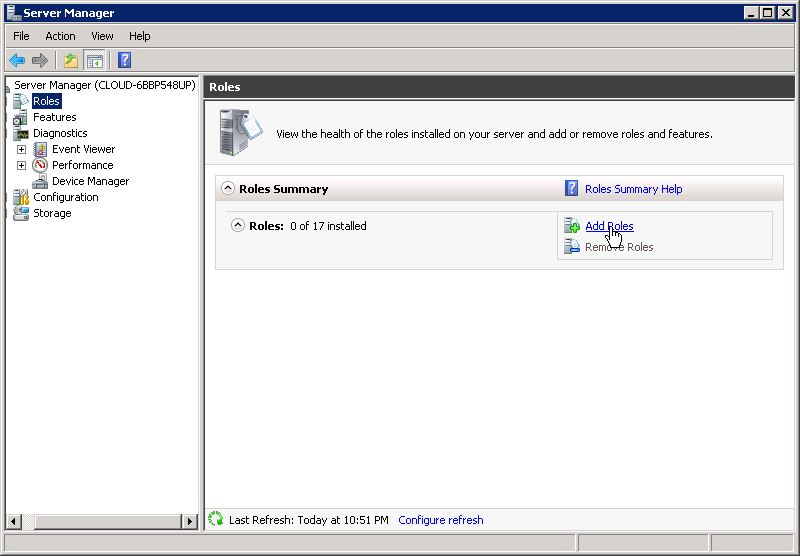
Server Manager: Add Roles
The Add Roles Wizard should open and you can click Next on the Before you begin section.
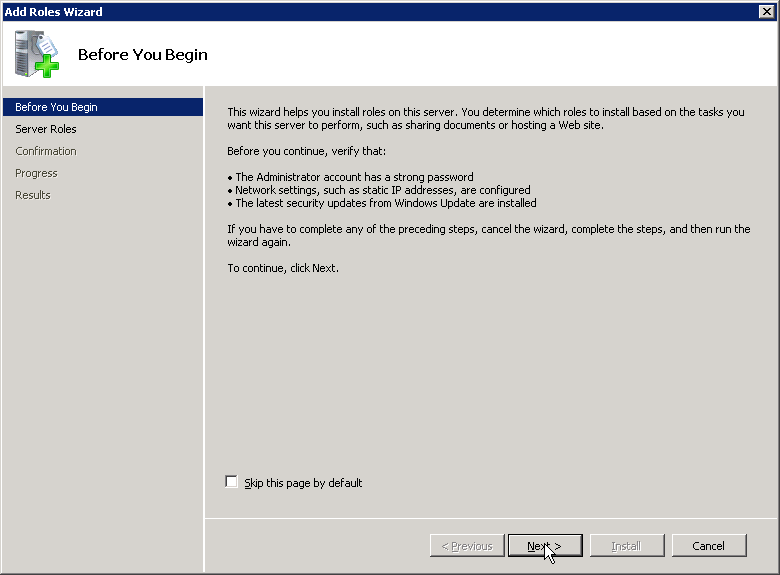
Before You Begin
In Server Roles, check the box next to Web Server (IIS) and click Next.
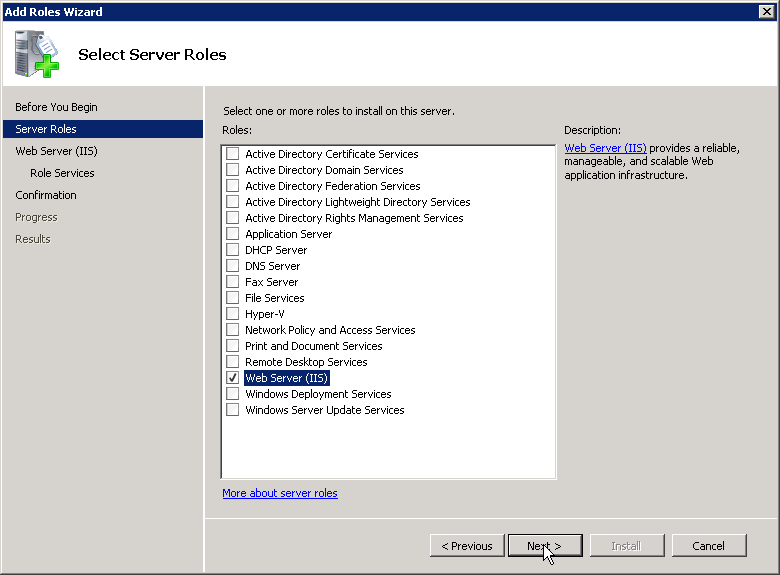
Server Roles: IIS
Click Next on the Web Server (IIS) information page unless you would like to read through it.
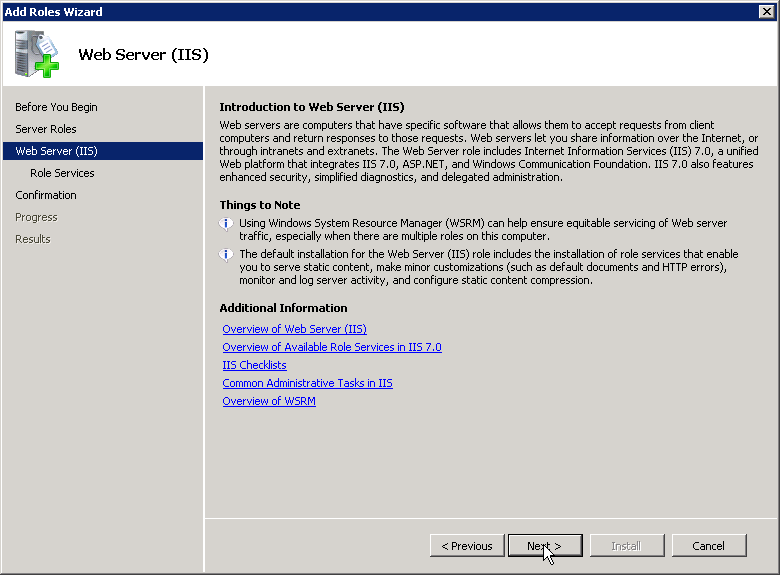
Web Server (IIS)
Review the Role Services being installed, you can install additional ones if you would like. Once ready, click Next.
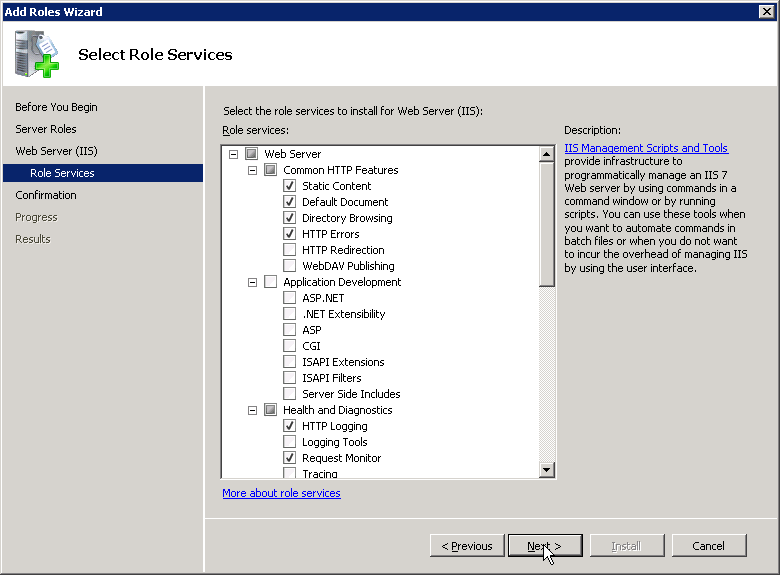
Role Services
Review what is being installed. Once you are ready, click Install.
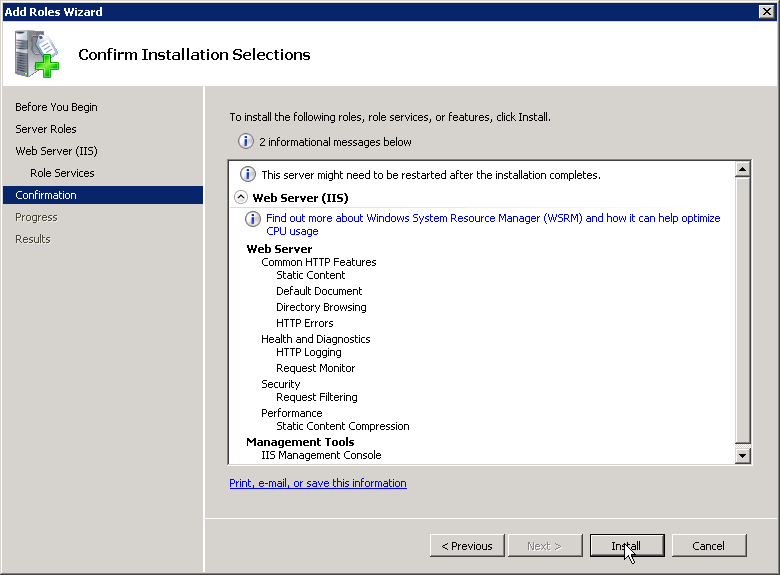
Confirm installation Selections
You should see a progress bar. Once complete, then you can click on Close.
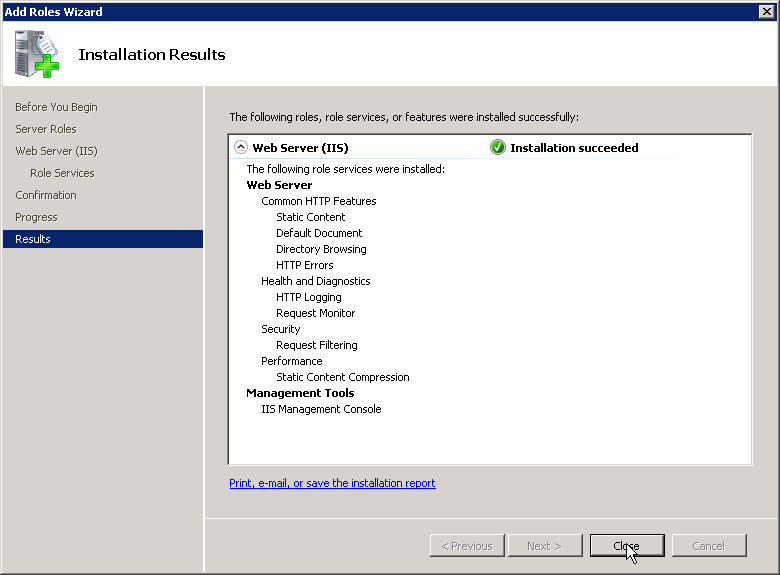
Installation Results
IIS 7 is now installed. To open IIS, open Server Manager, expand Roles then Web Server and click on Internet Information Services (IIS) Manager.
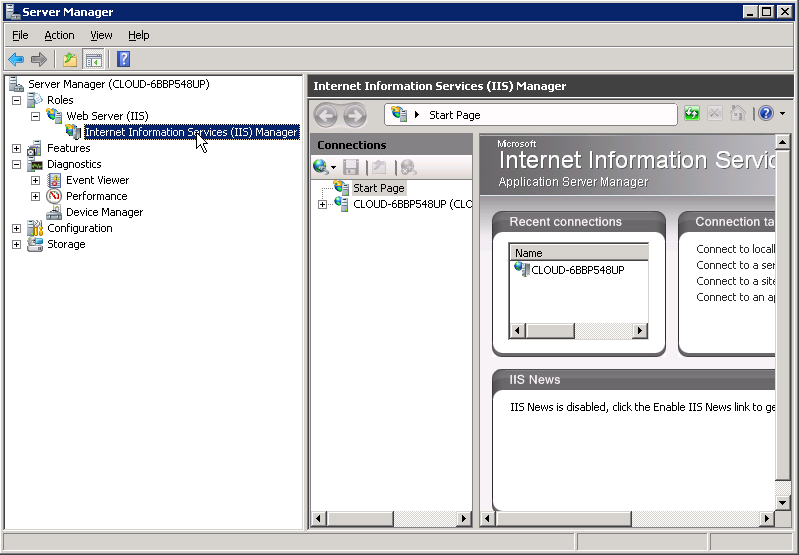
Server Manager: IIS Manager
You can also open IIS by searching for Inetmgr.exe and pressing Enter or going to Start>All Programs>Administrative Tools>Internet Information Services (IIS) Manager.


Comments